
Sometimes I feel like the boy who cried wolf. At the time I create and blog about a recipe, I am beyond excited and want to share it with the world. I promise, that fervent energy is genuine and in that moment, I feel like it’s the most remarkable pastry. So, when I create a recipe that I categorically, emphatically and truly believe is just the best ever, I can imagine you all silently rolling your eyes and thinking, “I’ve heard this before.” But this recipe, really is special. This is also one of those moments in recipe development where I think to myself, holy moly, me oh my, Roasted Milk Ice Cream! What? Not only have I never had such an ice cream before, but I’ve also never even heard of it! And here my friends, is the trajectory of how this idea was born:
1:15 AM: Office work done. Kids’ summer day scheduled. Breakfast muffins baked. Now, it’s time to de-stress in the sweetest way imaginable, contemplating recipes, ruminating on techniques and meditating over flavors.
1:27 AM: So here’s a thought: I’m obsessed with brown butter, which is in essence, breaking butter down via heat and caramelizing the milk fat solids. Hmmmmmmmm. How can I recreate that flavor in a dessert? I instantaneously think ice cream! Now, what can illicit a flavor comparable to brown butter? Caramel? No. Been done. Dulce de leche? Nope. Not that either. I GOT IT!!!! What if I roast powdered milk? Now, that just might work! Or…….not. Never mind that I have never even bought or tried powdered milk. Wait, is this a thing? Google time!
What? No. This really can’t be. But, I don’t understand. This just can’t be. Has no one thought of Roasted Milk Ice Cream? Has no one made this before, at least according to THE Google? Oh, this is so going down!
2:28 AM: (After frantic recipe scribbling session) This just might work…
4:04 AM: Roasted milk custard is in the fridge AND I can get exactly 2 hours and 11 minutes of sleep before I have to get up for work!
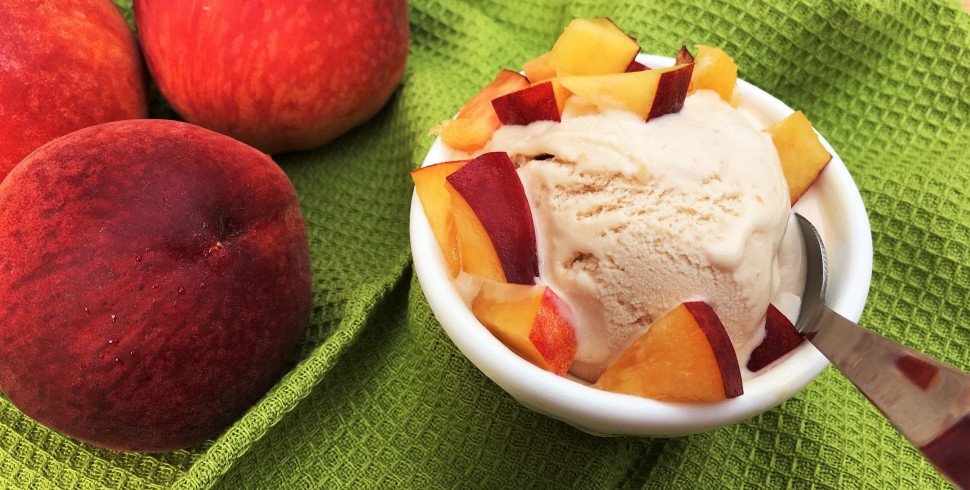
7:15 PM: The family sitting at the dinner table, devouring dessert, Roasted Milk Ice Cream with toasted corn flakes: “Mom, what’s this flavor?” But before I can offer the first explanatory syllable, I hear, “Nevermind, doesn’t matter, ‘cause whatever it is, it’s awesome!” My 10 year old mini-me and official recipe taste-tester exuberantly exclaimed! Ingredients:
½ cup (65 grams) dry milk (also referred to as powdered milk)
1 1/2 cups (375ml) whole milk
1 1/2 cups (375ml) heavy cream
4 large egg yolks, preferably organic free-range at room temperature
3/4 cup (150 grams) granulated sugar
1/8 teaspoon fine sea salt
How to use them:
Preheat your oven to 300° F. Spread the dry milk on baking sheet in a thin layer, preferably on parchment paper. Roast for 5 to 6 minutes until golden medium brown in color. Please keep a close eye on the dry milk as it can quickly go from golden brown to burnt and gone!
 Let the roasted dry milk to cool for a few minutes. Lift the parchment paper to allow the roasted dry milk to break apart into shards.
  Set the roasted dry milk pieces aside and begin heating the milk mixture. Combine the milk and cream in a saucepan and heat on medium-low heat. Stir the mixture with a wooden spoon or heat resistant spatula until the mixture is warmed all the way through and it just reaches the boiling point, but do not allow to boil. This is the stage where you see steam beginning to rise and small bubbles form around the edge of the pan.
While the milk mixture is heating, whisk the egg yolks, sugar and salt for approximately a minute until thoroughly whisked. Initially, the eggs will appear clumpy and dry.
 Just keep whisking for about 2 minutes, stopping to tap the whisk on the side of the bowl to release any sugary egg bits. Almost instantly and at once, the sugar and eggs become a homogenious, smooth mixture.
 Once the milk is heated, add the roasted dry milk pieces.
 Whisk until the dry milk has dissolved into the milk, about 3 minutes.
 After the dry milk is fully incorporated into the milk mixture, begin to temper the egg yolks by pouring a ladle full (approximately ¼ cup) of the milk mixture in a slow, steady stream into the egg yolks while whisking constantly.
 Repeat this process 3 to 4 times until the eggs yolks are warmed through, making certain to continue to whisk as you are pouring the milk in so you will not scramble the eggs. Take the tempered egg mixture and very slowly add it to the milk mixture in the pan, constantly stirring the entire time. Using a wooden spoon or spatula, gently continue to stir the custard over low heat. You must take care to stir gently and at low heat so as to not curdle or cook the eggs.
Continue to cook this custard over low heat for approximately 10 to 15 minutes, stirring constantly and scraping the bottom until the custard thickens enough to coat the back of the spoon. The technique used to test this consistency is running a finger along the back of your stirring spoon. If the custard remains on each side of the line you have created, then it is ready, yet if the part quickly runs back together, then it is still too runny and needs more cooking time. When your custard is at the desired consistency, remove it off the heat and pour it into a glass container, passing it through a fine sieve as you are doing so. Can you see those lovely itty bitty bits of roasted milk and the rich, caramel color?
 This is a crucial technique in the ice cream making process as it allows you to capture any bits of egg or dry milk that may have not dissolved completely and ensures a creamy and lush ice cream. Allow the custard to cool completely on the counter before covering and chilling for at least 6 hours, or preferably overnight. Allow the custard proper time to chill so that the flavors may truly bloom and develop. When you are ready to make the ice cream, pour the chilled custard mixture into an ice cream maker.
 Churn the ice cream according to the manufacturer’s directions.
 Once the ice cream is ready, scoop it out of the canister into a frozen container. While the ice cream is ready to serve at this point, it will be soft and melt quickly. It is best served after it has been frozen for at least a few hours. Freezing the container ahead of time ensures that the ice cream remains thoroughly cold and helps keep the custard from melting.
 And now my dear friends, it is time to dish. I roasted a cup of corn flakes for about 5 minutes in a toaster over, just to crisp and brown them up a bit and then sprinkled them over the top of the Roasted Milk Ice Cream.
 This seemingly simply ice cream is one of the most unique and complex flavors you will ever have. The whimsical addition of the corn flakes is the perfect final punctuation to the eloquent prose that is this recipe!


