

Seasonal berries are my jam ya’ll! Each April there’s a moment of pure joy when I’m anxiously perusing the farmer’s market hoping that perhaps today is the day I spot that bright ruby red hue that signals spring is here and so are the strawberries. When that happened this season, I knew I needed to create a recipe that honored this first bounty of strawberry season in a spectacular way, and this Roasted Strawberry Ice Cream does so beautifully.
Ingredients:
1 pound (450 grams) strawberries, quartered
1/4 cup (50 grams) sugar
1 lemon, zested and juiced, preferably organic
1 vanilla bean, seeds scraped
1 cup (8 ounces/250 ml) whole milk
1 1/2 cups (12 ounces/375 ml) heavy cream
1/2 cup (100 grams) sugar
Pinch of fine sea salt
4 large egg yolks, preferably organic free-range at room temperature
How to use them:
Strawberries are the true star of this show, so make sure your picks shine! Choose berries that have bright green stems and shiny, deep red, firm flesh. Make certain they are perfectly ripe as those will produce the most favorable fruit when roasting.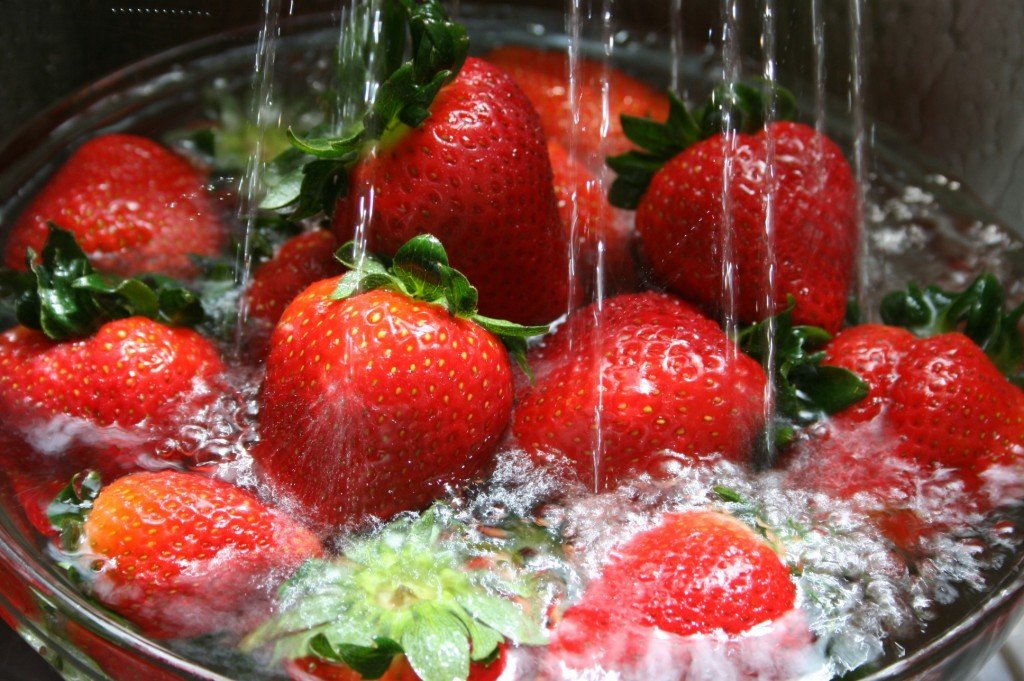 Speaking of roasting, why should you bother? You know when you’re eating a luscious creamy ice cream and all of sudden you bite down on an icy piece of fruit that interrupts that nirvana you were in the midst of? That is why you roast. That unpleasant iciness is due to the high water content in the strawberries that freeze rather unpleasantly. When you roast the fruit, much of the water evaporates, and adding sugar inhibits the freezing as well, leaving a concentrated pure strawberry flavor and equally gorgeous strawberry syrup.
To roast the strawberries preheat your oven to 350°F/177°C. Prepare a sheet pan by covering it with parchment paper. Clean, hull and cut the strawberries in quarters. In a medium bowl, stir the strawberries, sugar, lemon zest and lemon juice together. Distribute the strawberries in a single layer on the baking sheet.
  Place the baking sheet in the oven and roast for 35-40 minutes until the strawberries release their juice and the juice has thicken into a syrup.
 Pour the roasted strawberries in a bowl and allow to cool. This process can be done up to two days before, simply refrigerate the strawberries once they have cooled to use when you are ready.
Hey, remember reading the choose your own adventure books as a kid? Well, this next step in the process is a bit like that. If you like strawberry chunks in your ice cream, them gently mash up the strawberries in the bowl to break them up a bit. However, if you prefer a smoother mouth-feel, then blend the roasted strawberries and syrup, and strain to capture any bits or seeds. Next, you want to prepare the vanilla bean be gently scraping out the seeds by carefully scoring the vanilla pod lengthwise down the middle, gently prying it open and then scraping out the seeds with the back of a knife. You can substitute 2 teaspoons of vanilla extract if you don’t have a bean handy, but these tiny seeds pack incomparable fragrant vanilla flavor.
 For the custard ice cream base, combine the milk, cream, vanilla bean and vanilla seeds, in a saucepan and heat on medium-low heat. Stir the mixture with a wooden spoon or heat resistant spatula until combined. Make sure that the mixture is warmed all the way through until it just begins to reach the boiling point, but do not allow to boil. This is the stage where you see steam begin to rise and small bubbles form around the edge of the pan.
 Now back to choosing your own adventure once again! Here is where you have two choices: 1. allow the vanilla beans seeds and pod to steep for an hour to infuse the milk and develop a stronger and more intense vanilla flavor, or 2. proceed with making the custard. The biggest factor in deciding is time. If you have time, let the vanilla steep, however, you will need to reheat the milk mixture once again once you are ready to proceed to the next step in the custard process.
While the milk mixture is heating, whisk the egg yolks, sugar and salt for approximately 2-3 minutes until thoroughly whisked through, and forms a light pale yellow ribbon.  Once the milk is heated, temper the egg yolks by pouring a ladle full (approximately ¼ cup) of the milk in a slow, steady stream into the egg yolks while whisking constantly. Repeat this process 3 to 4 times until the eggs are warmed through, making certain to whisk as you are pouring the milk so you will not scramble the eggs. Take the tempered egg mixture and very slowly add it the milk mixture in the pan, constantly stirring the entire time. Using a wooden spoon or spatula, gently continue to stir the custard over low heat. You must take care to stir gently and at low heat so as to not curdle or cook the eggs.
 Continue to cook this custard over low heat for approximately 10 to 15 minutes, stirring constantly and scraping the bottom until the custard thickens enough to coat the back of the spoon. The technique used to test this consistency is running a finger along the back of your stirring spoon. If the custard remains on each side of the line you have created, then it is ready, yet if the part quickly runs back together, than it is still too runny and needs more cooking time.
When your custard is at the desired consistency, remove it off the heat, add the pureed strawberry and pour it into a glass container, passing it through a fine sieve as you are doing so. As you can see, the fine mesh has captured any bits of egg and strawberry seeds in the custard, giving you a smooth and creamy custard that will then freeze beautifully. If you prefer the chunkier bits of strawberry, stir in your roasted strawberries after you have strained the custard. Allow the custard to cool completely on the counter before covering and chilling overnight preferably, or at least 6 hours. Giving the custard proper time to chill allows the flavors to truly marry and develop. When you are ready to make the ice cream, pour the chilled custard mixture into an ice cream maker and follow the manufacturer’s directions. When the ice cream has completed churning, scoop it out of the canister into a chilled container and freeze.
  While the ice cream is ready to serve at this point, it will be soft and melt quickly. It is best served after it has been frozen for at least a few hours. I often freeze the container that the finished ice cream will go in so that it will be thoroughly cold and help keep the ice cream solid.
 This ice cream is divine just the way it is, but for a lovely addition, feel free to pour on a decadent chocolate magic shell as I have.
If you’d like to make your own homemade magic shell, nothing could be easier. Simply heat 3 tablespoons of coconut oil and 1 cup of chocolate chips in the microwave on 50% for 15 seconds at a time, stirring each time until it’s completely melted. I prefer a bittersweet chocolate to balance the fruity sweetness of the ice cream. Pour the chocolate sauce into a mason jar and allow to cool uncovered for at 30 minutes. When you are ready to use the magic shell, seal the jar, shake it well and pour to your heart’s content.  Everyone knows THE best part of the magic shell is that initial whack and crack of the shell.
 Though the devouring part is a close second!


